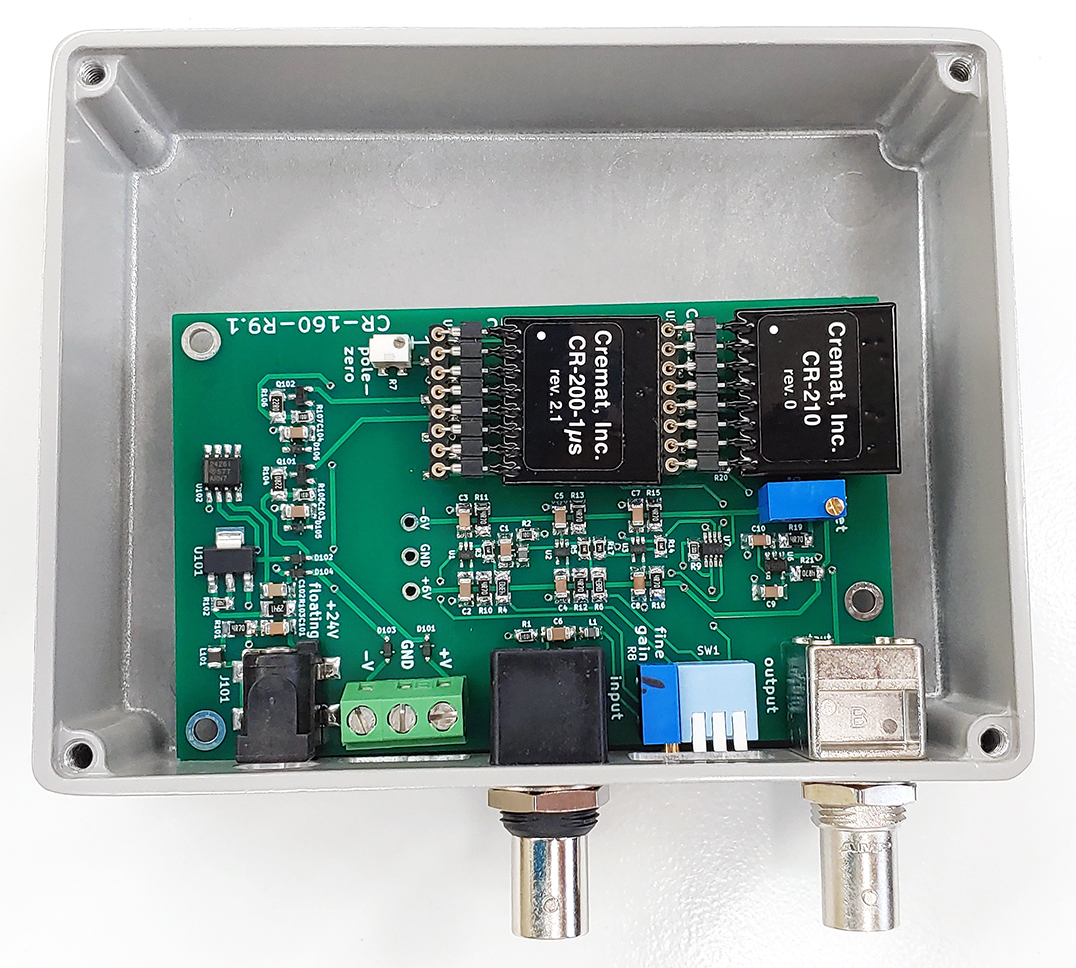
How to Assemble the CR-160-R9
Start by installing the 3-position terminal block as shown below:
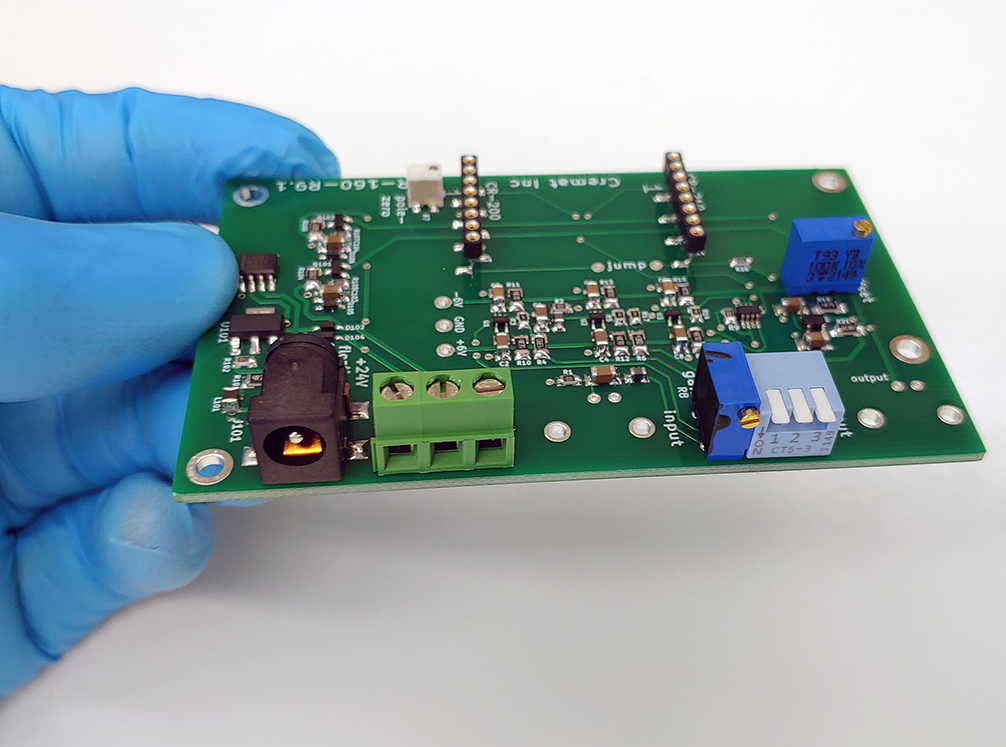
Solder the 3-position terminal block into place. Make sure the wire entry is facing forward as in the photo.
Next, install the 'input' BNC connector. This is the connector with the black plastic housing. This connector has binding posts that will snap into place. Make sure the connector is seated flat against the board.
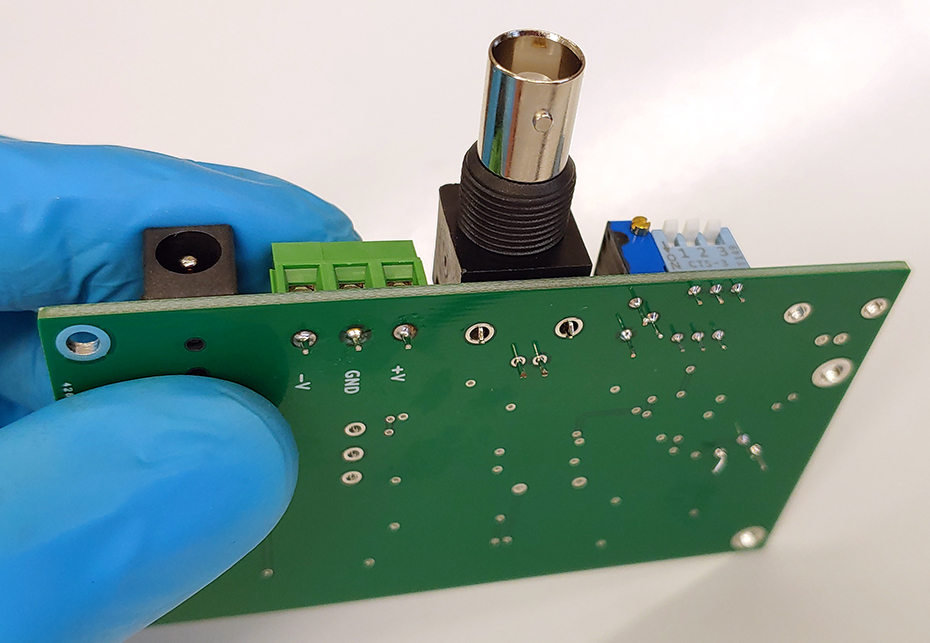
Solder the input connector to the board, including soldering the binding posts as well.
Next, place the metal-housing BNC connector onto the board by inserting the two wires into the small holes:
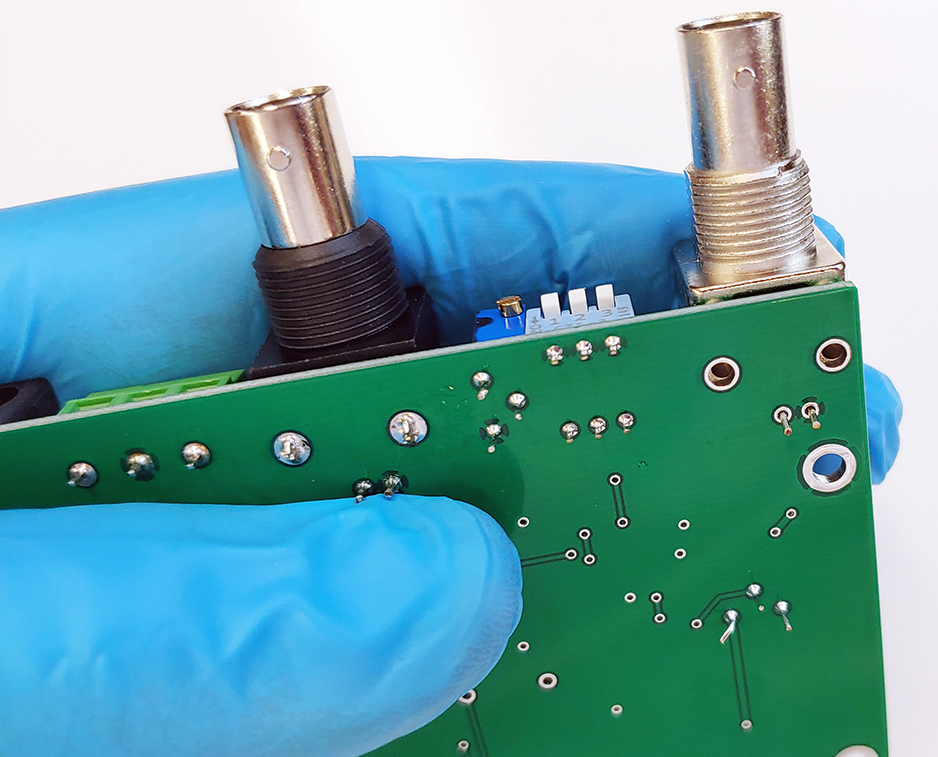
Use a Phillips screwdriver to screw the supplied 2-56 self tapping screws into the connector. Note: the screw holes in the BNC connectors do not come already tapped. The self tapping screws form their own threads in the hole when being inserted. More information on self tapping screws can be found here. Do not try to use a thin jeweler's screwdriver to insert the screws as you will need a screwdriver with a wide handle to properly apply the needed torque. You will need to press the screwdriver into the screw and turn with some force to install the screws.
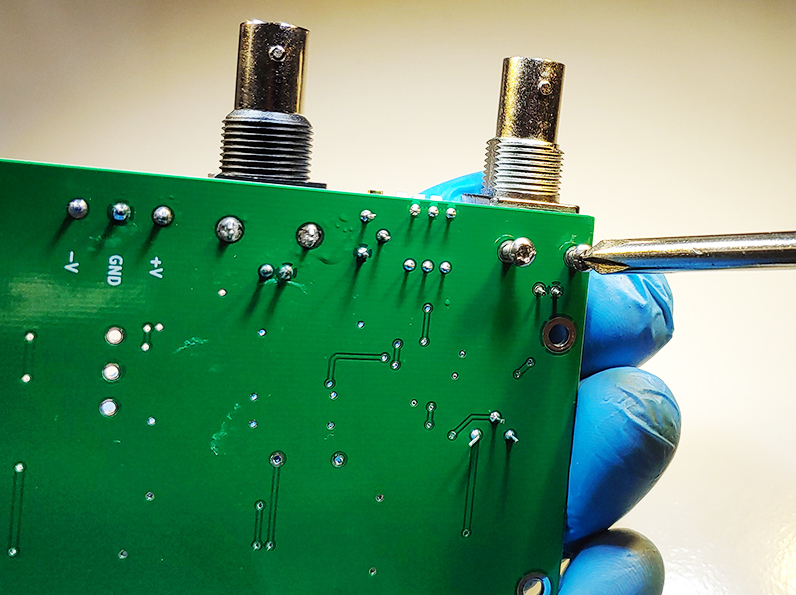
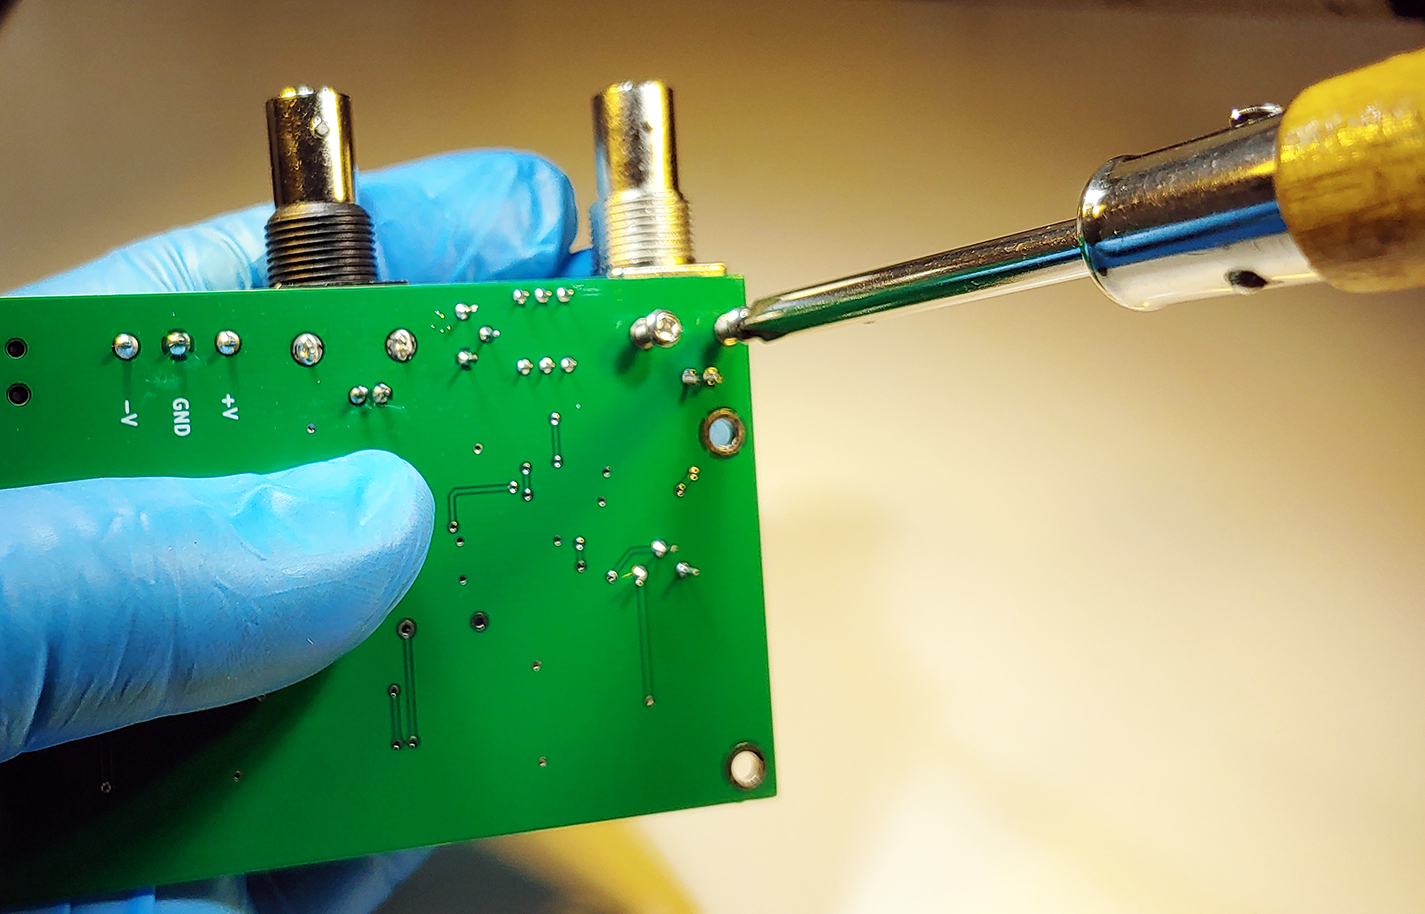
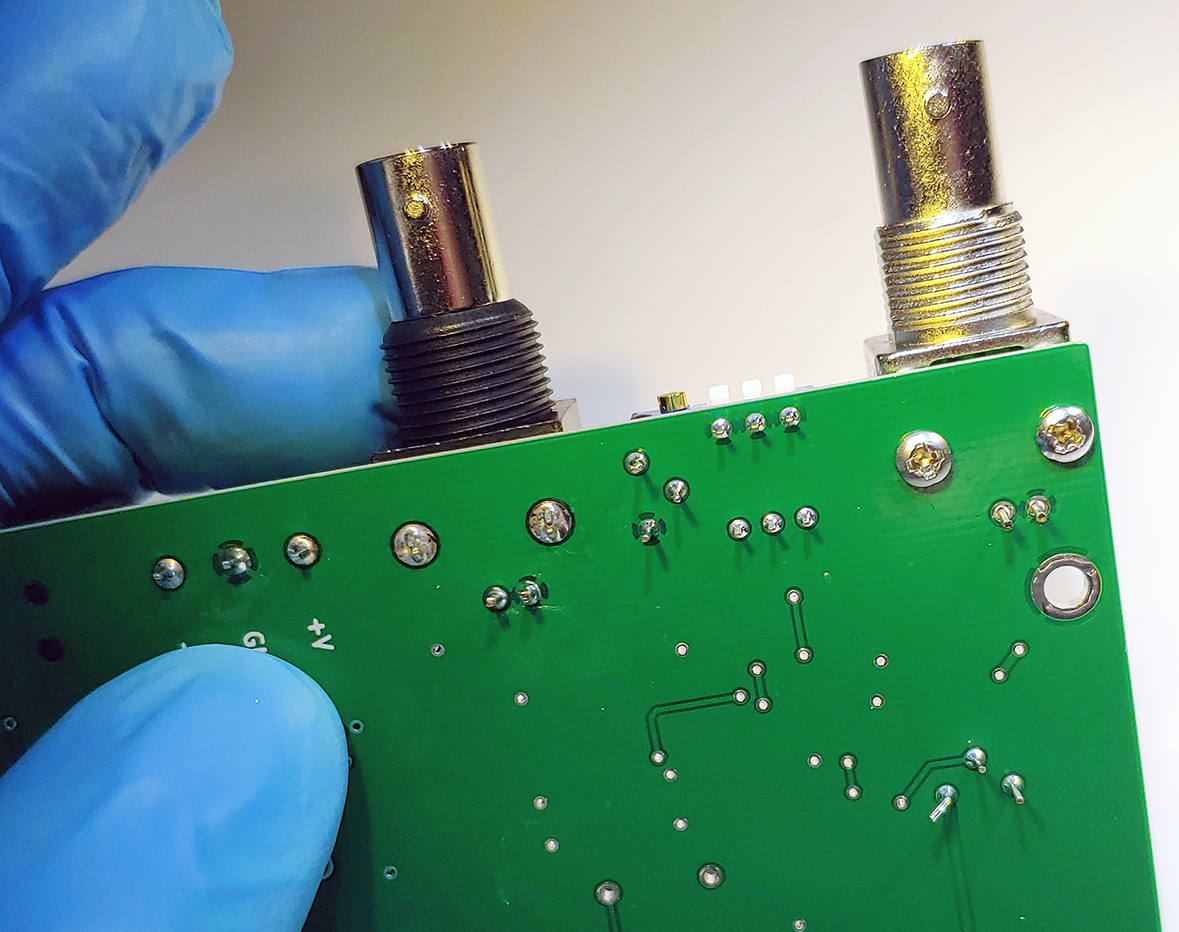
Solder the connector wires to the board.
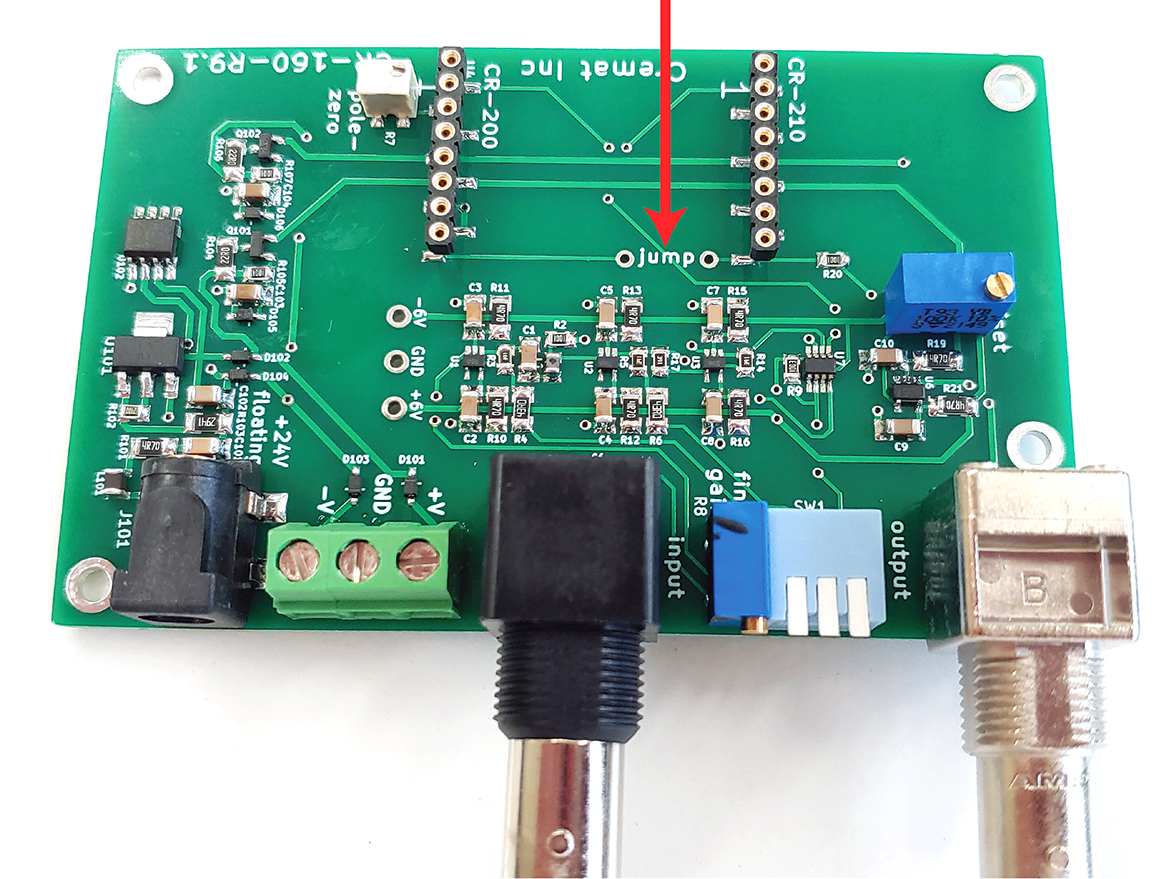
The CR-160-R9 board has a socket for an optional CR-210-R0 baseline restorer module. If you choose not to use the CR-210-R0, then solder a jumper wire in the location shown below:
Clean the board
Soldering on the board is completed! Clean off the residual flux. If you used rosin flux then you will need isopropyl alcohol to clean it. Water soluble flux needs only hot water. Dry the board completely before advancing (1hr in a drying oven at 100C).
Install the board into the CR-160-BOX-R9 housing
The board should fit perfectly into the housing.
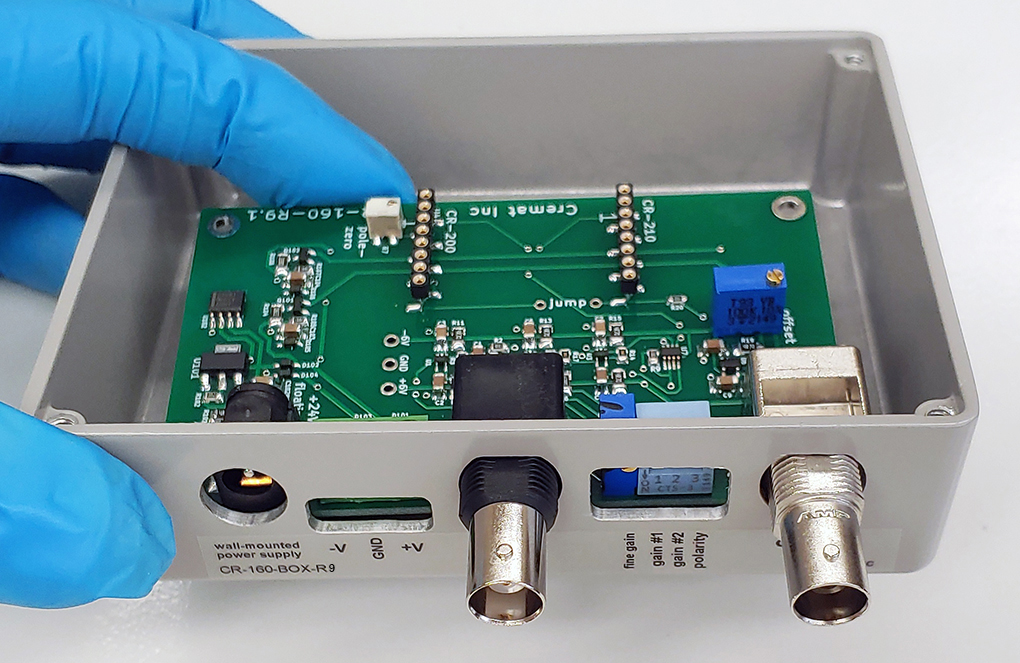
Place lock washers and nuts onto the BNC connectors to secure it to the housing.
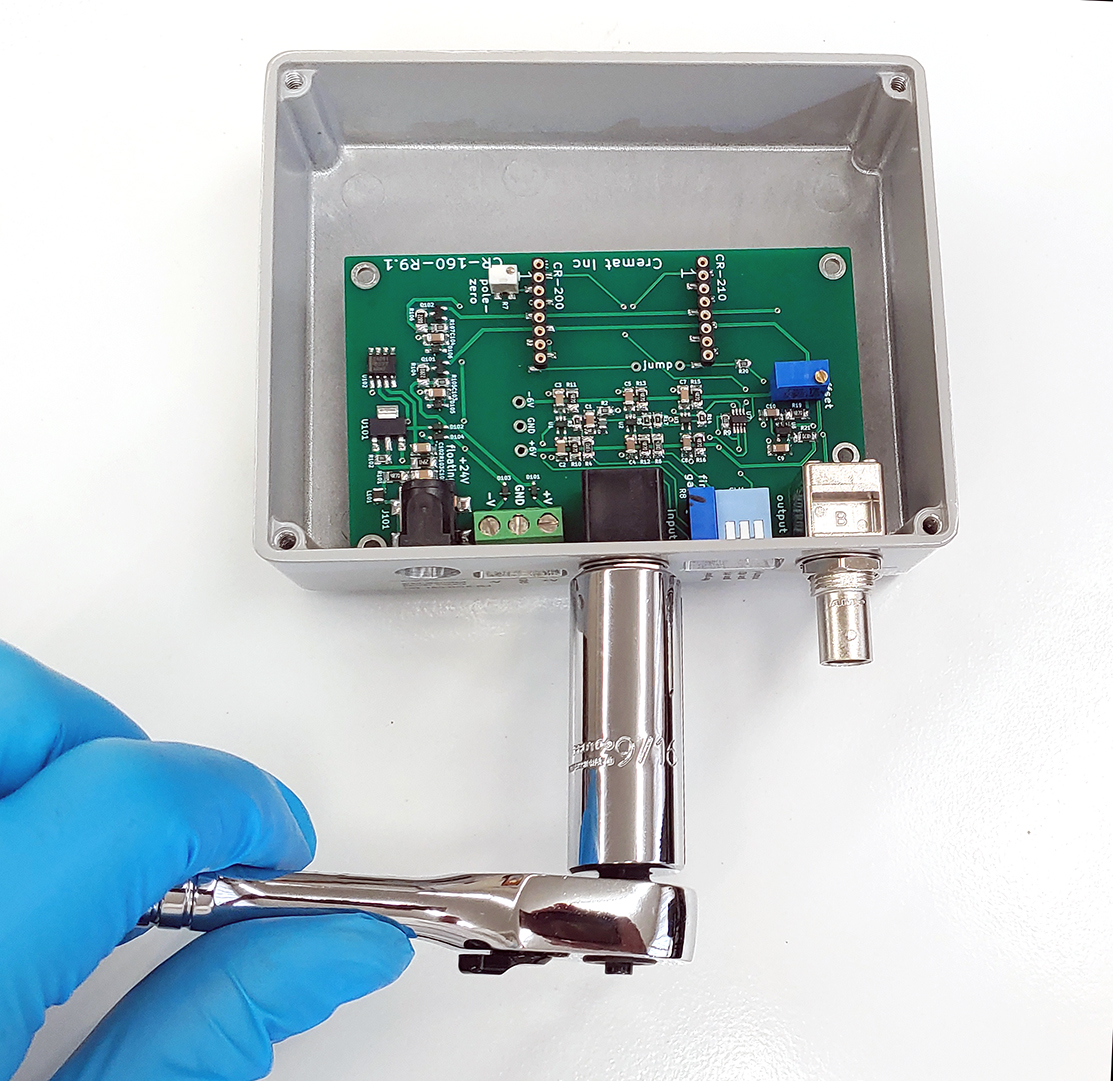
Tighten the nuts. A carefully-used adjustable wrench would be the best tool for this.
Important!: Do not over-tighten the nut on the plastic BNC connector or you will risk stripping the threads.
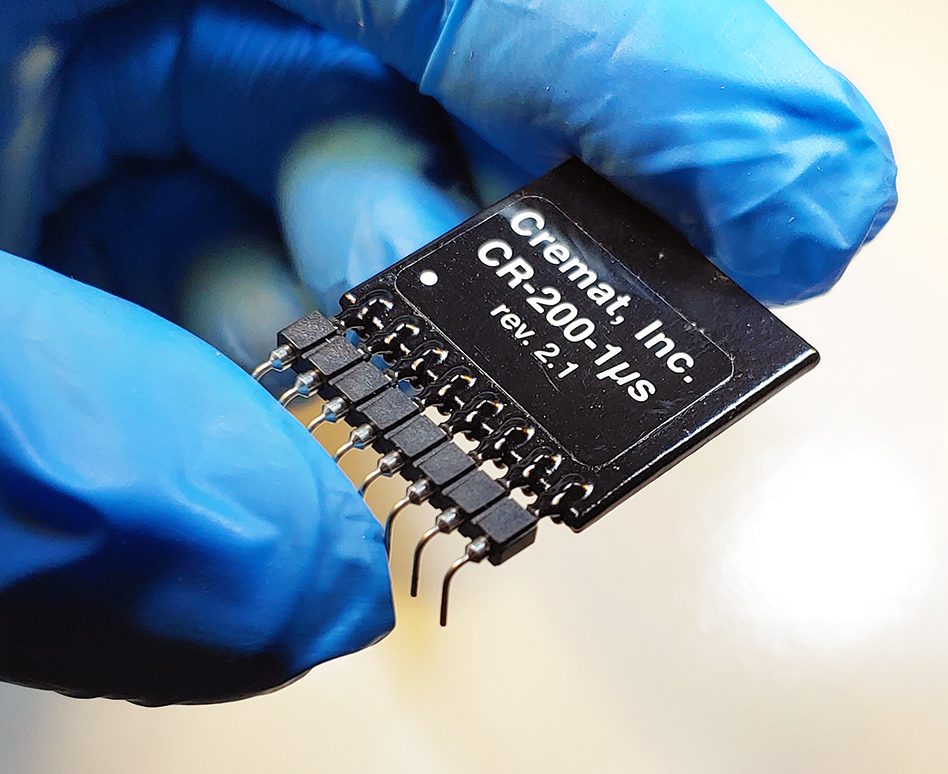
Install the CR-200-XX and CR-210-R0 modules onto the right angle adapters.
Push the module / adapters onto the sockets like in the photo:
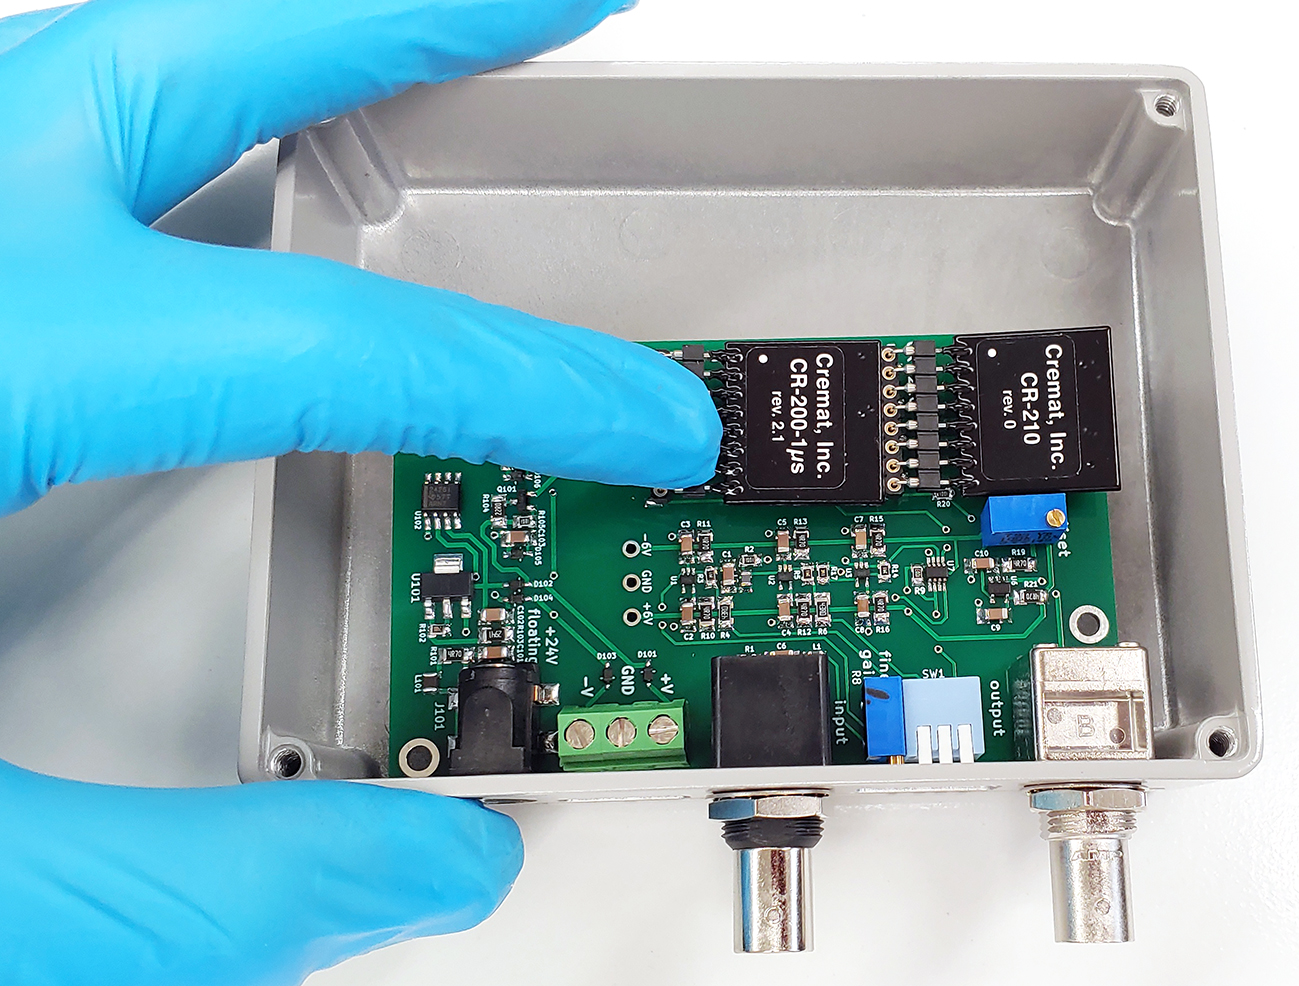
Assembly is complete once you fasten the lid!
